What's the quickest and easiest and best way to pave the surfaces between the rails and tracks at the Interbay Car Repair Facility, now that I've removed all the locomotives and cars (which hopefully you already enjoyed in this quick video short on YouTube)? Here's an aerial shot of the whole area to be paved, which you can see is pretty large:

In the past, for paving streets, I've used (1) "lightweight spackle", (2) plaster, (3) sheet styrene, and (4) sanded grout. Here is my experience with each:
(1) I painted the lightweight spackle a gray acrylic, which looks ok, although a bit uniform for my taste, but I find it's easy to accidently gouge it with your fingernails or with a track cleaning tool, and then the white spackle shows through. I suppose I could make it less uniform with washes and pan pastels. The same is true for all the other methods, too.
(2) Plaster has the same gouging issue, and also can crack over time. I suppose you could add dye to it and make it the pavement color throughout, but again it would be too uniform in color. And I'm looking for something quick and easy, not a plaster dyeing project.
(3) Sheet styrene is durable, paintable, easy to scribe cracks into, and not subject to changes over time. But, it takes a lot of work to cut each piece to fit. It's not quick and easy.
(4) Recently, we've been trying sanded grout, in various shades of gray. You can putty it on like plaster, and it dries rock hard. Rock hard. You can't gouge it with anything other than tool steel - it's reconstituted rock, once it sets. So getting it out of the flangeways of the track, and below the railhead, is important if you want reliable operations with DCC. We did this while it was setting, but when I came back the next day it seemed to have slightly expanded in the final stages of setting. It was a real job getting the rails clean enough to have reliable electrical contact. The surface looks pretty good, although a little shiny for my taste, and I may need to go over it again with some pan pastels one day. Also, if you don't use pre-mixed grout, you have to get the proportions of water and dry grout just right, or the thing will not set up right. I suppose you could dribble the diluted fixative of your choice on it afterwards. This isn't sounding quick and easy either.
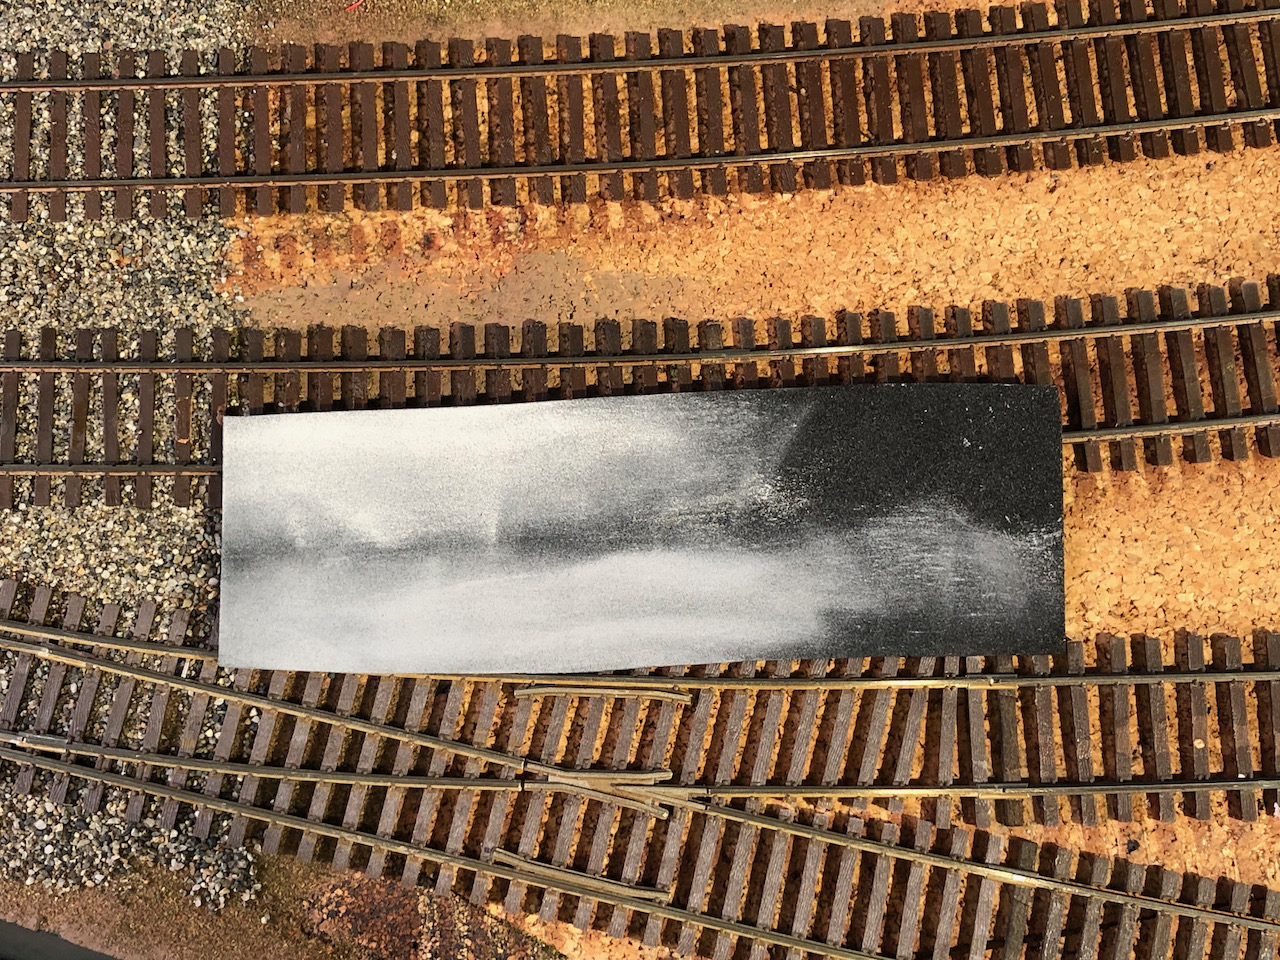
So, I'm game to try something new. Above you see a sample of a product that's easy to cut, glue, paint and weather. It's called "PVC foam", and I heard about it from Al Frasch and some other online NMRAx clinics. It's denser than regular "foam rubber", but it cuts easily with a knife and comes in thicknesses down to 1mm. This is good, because the height of my code 70 rail is .070 inches which equates to 1.8mm. (code 83 is about 2.1mm and code 55 is about 1.4mm). But the stuff you can buy in a regular craft store is usually just the 2mm thickness. 2mm would work fine for areas of code 83 rail, but in this case I need it to be a little less, so I ordered some 1mm foam online in order to try it. I don't really want the foam (or anything else) sticking up above the railheads, so stay tuned for the experiment. Al is using 2mm foam for pavement on his N scale layout, on the code 75 Atlas track, which should be about perfect. He claims that the loco wheels push the foam down and he has no problems with it. I might try an experiment with the 2mm foam, but first I want to try the 1mm foam and see how it works.
The other thing is how to color it. I could spray paint the whole sheet with a gray primer, but then would it curl up over time, or be hard to glue evenly? What you see above is that I tried a couple of shades of pan pastel on it, and I'd say it looks great. I can just glue it down black, and come back and create a realistic uneven gray using several shades of pan pastel.

Above, you see a single piece of 1mm PVC foam cut to fit the entire area. I should be able to cut it in strips with an Xacto knife without to much effort, and glue it down with white glue and some weights.
But let's not get ahead of ourselves - the areas between the tracks need to be raised up to the height of the ties first. We'll get to that in my next post. So much for quick and easy, huh?
No comments:
Post a Comment